
Communication Report
Learn all about Communication Reports on Loyalife
Overview of Communication Reports
Purpose:
Communication reports in Loyalife provide insights into the effectiveness of communication channels used for customer engagement. These reports track interactions through channels like email and SMS, helping businesses analyze the success of their communication strategies, including the status of sent messages and the frequency of communication across different channels.
Creating a Custom Communication Report
To create a custom communication report that suits your business needs, follow these steps:
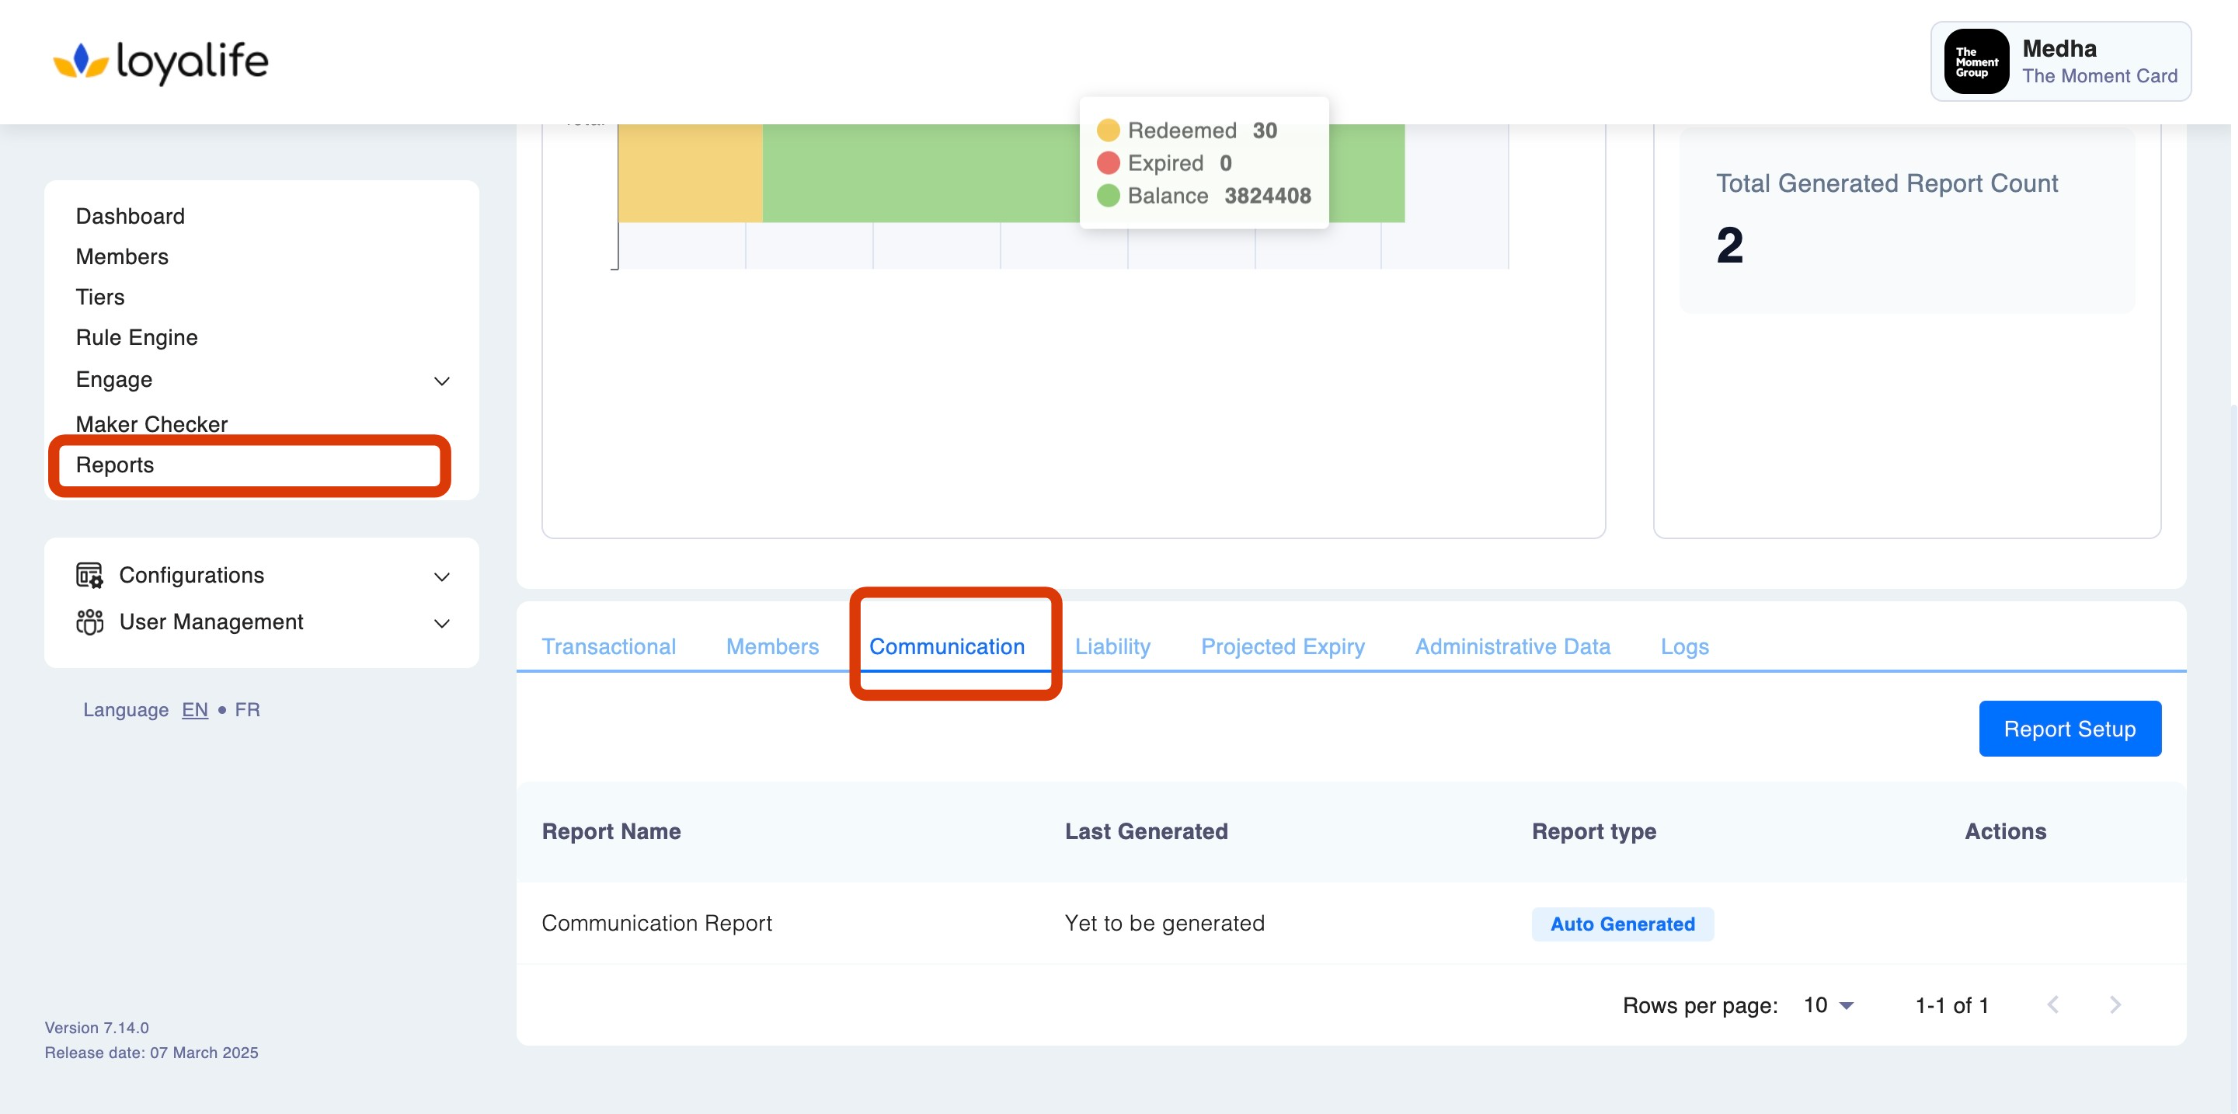
Access the Feature:
- Navigate to Reports > Communication tab.
Add a Custom Report:
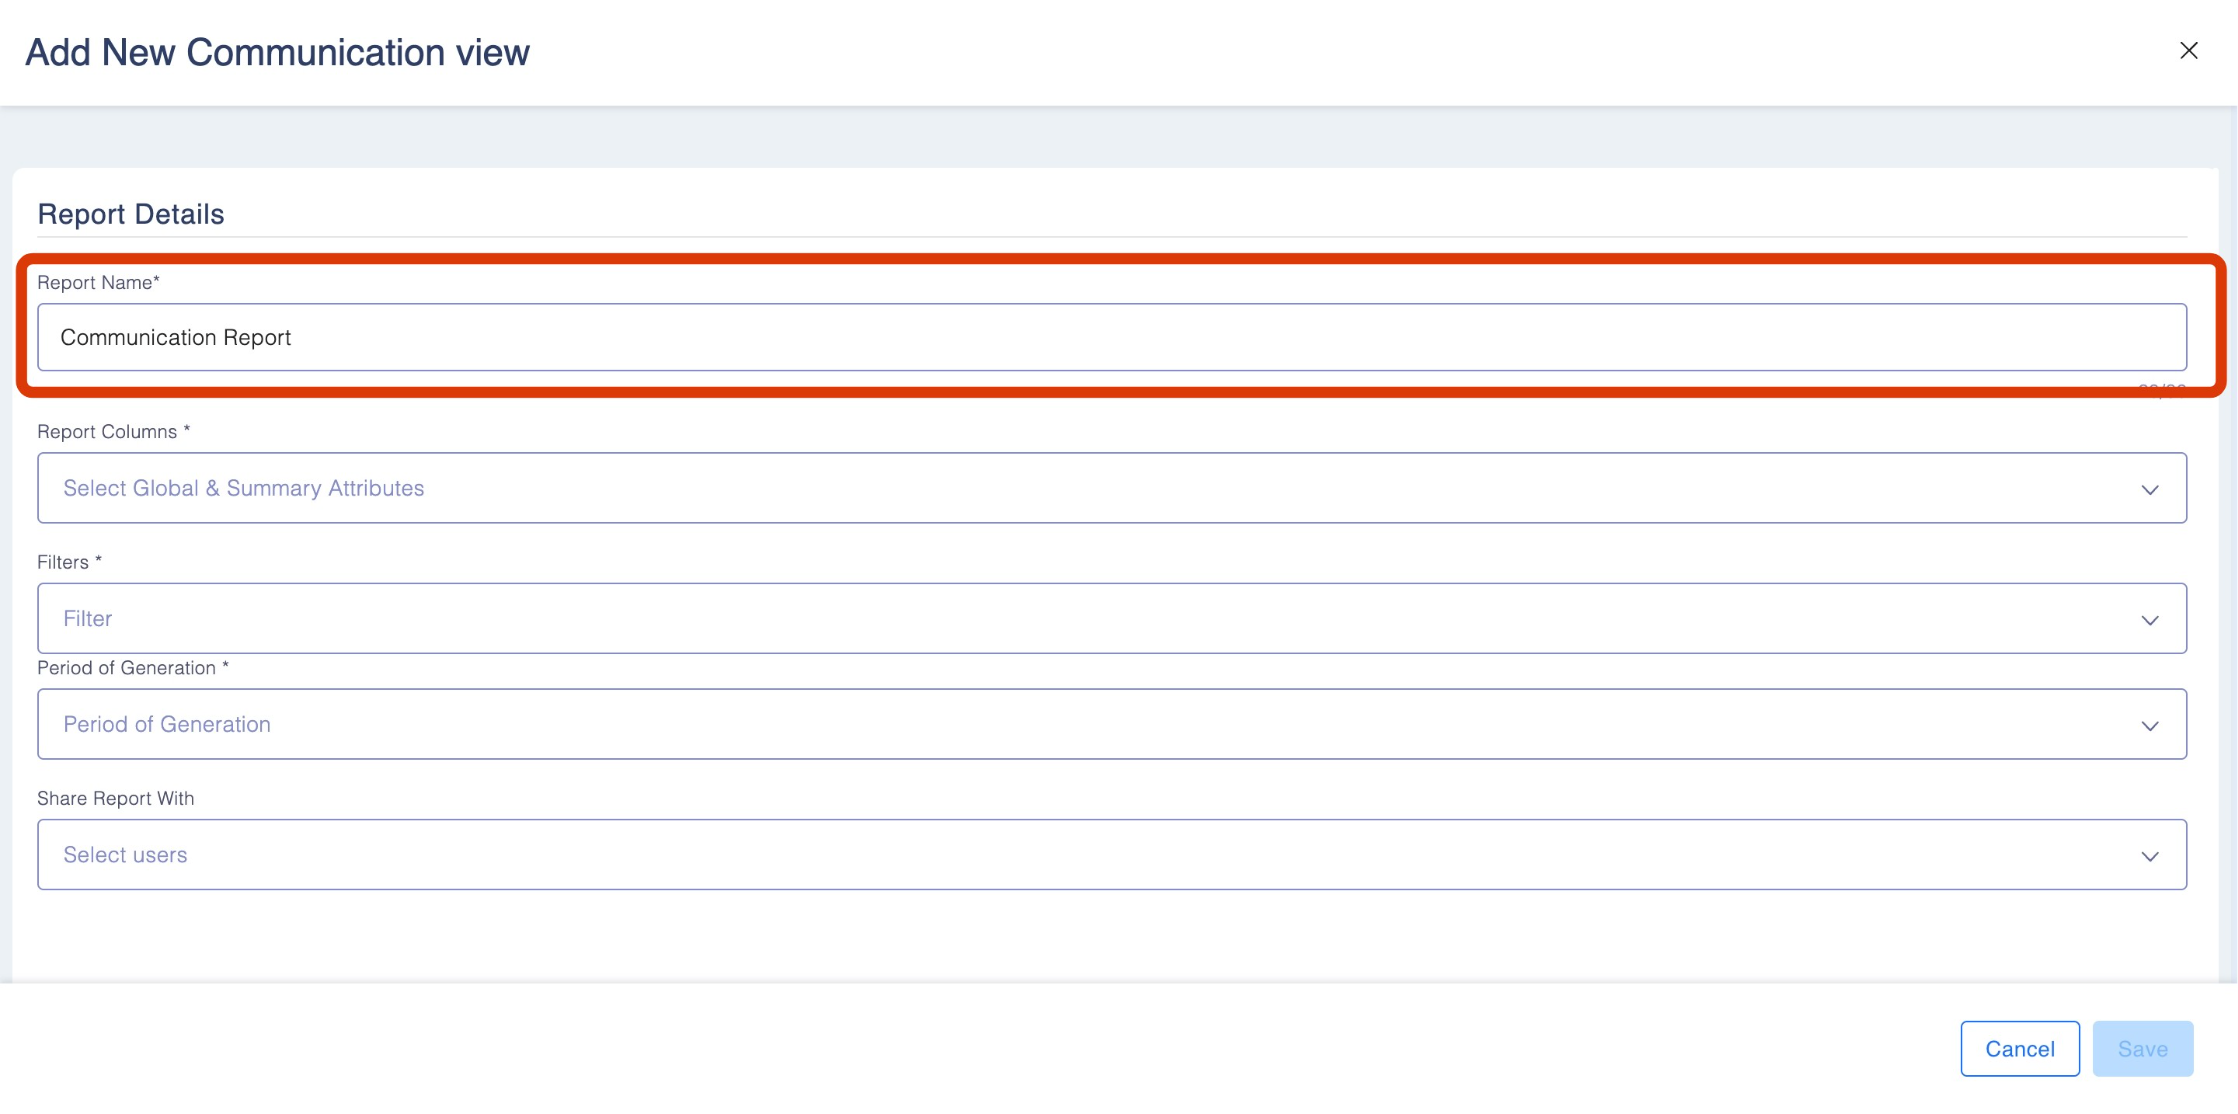
- Click Report Set Up and fill in the following details:

- Report Name: Provide a descriptive name for the report that indicates its purpose.
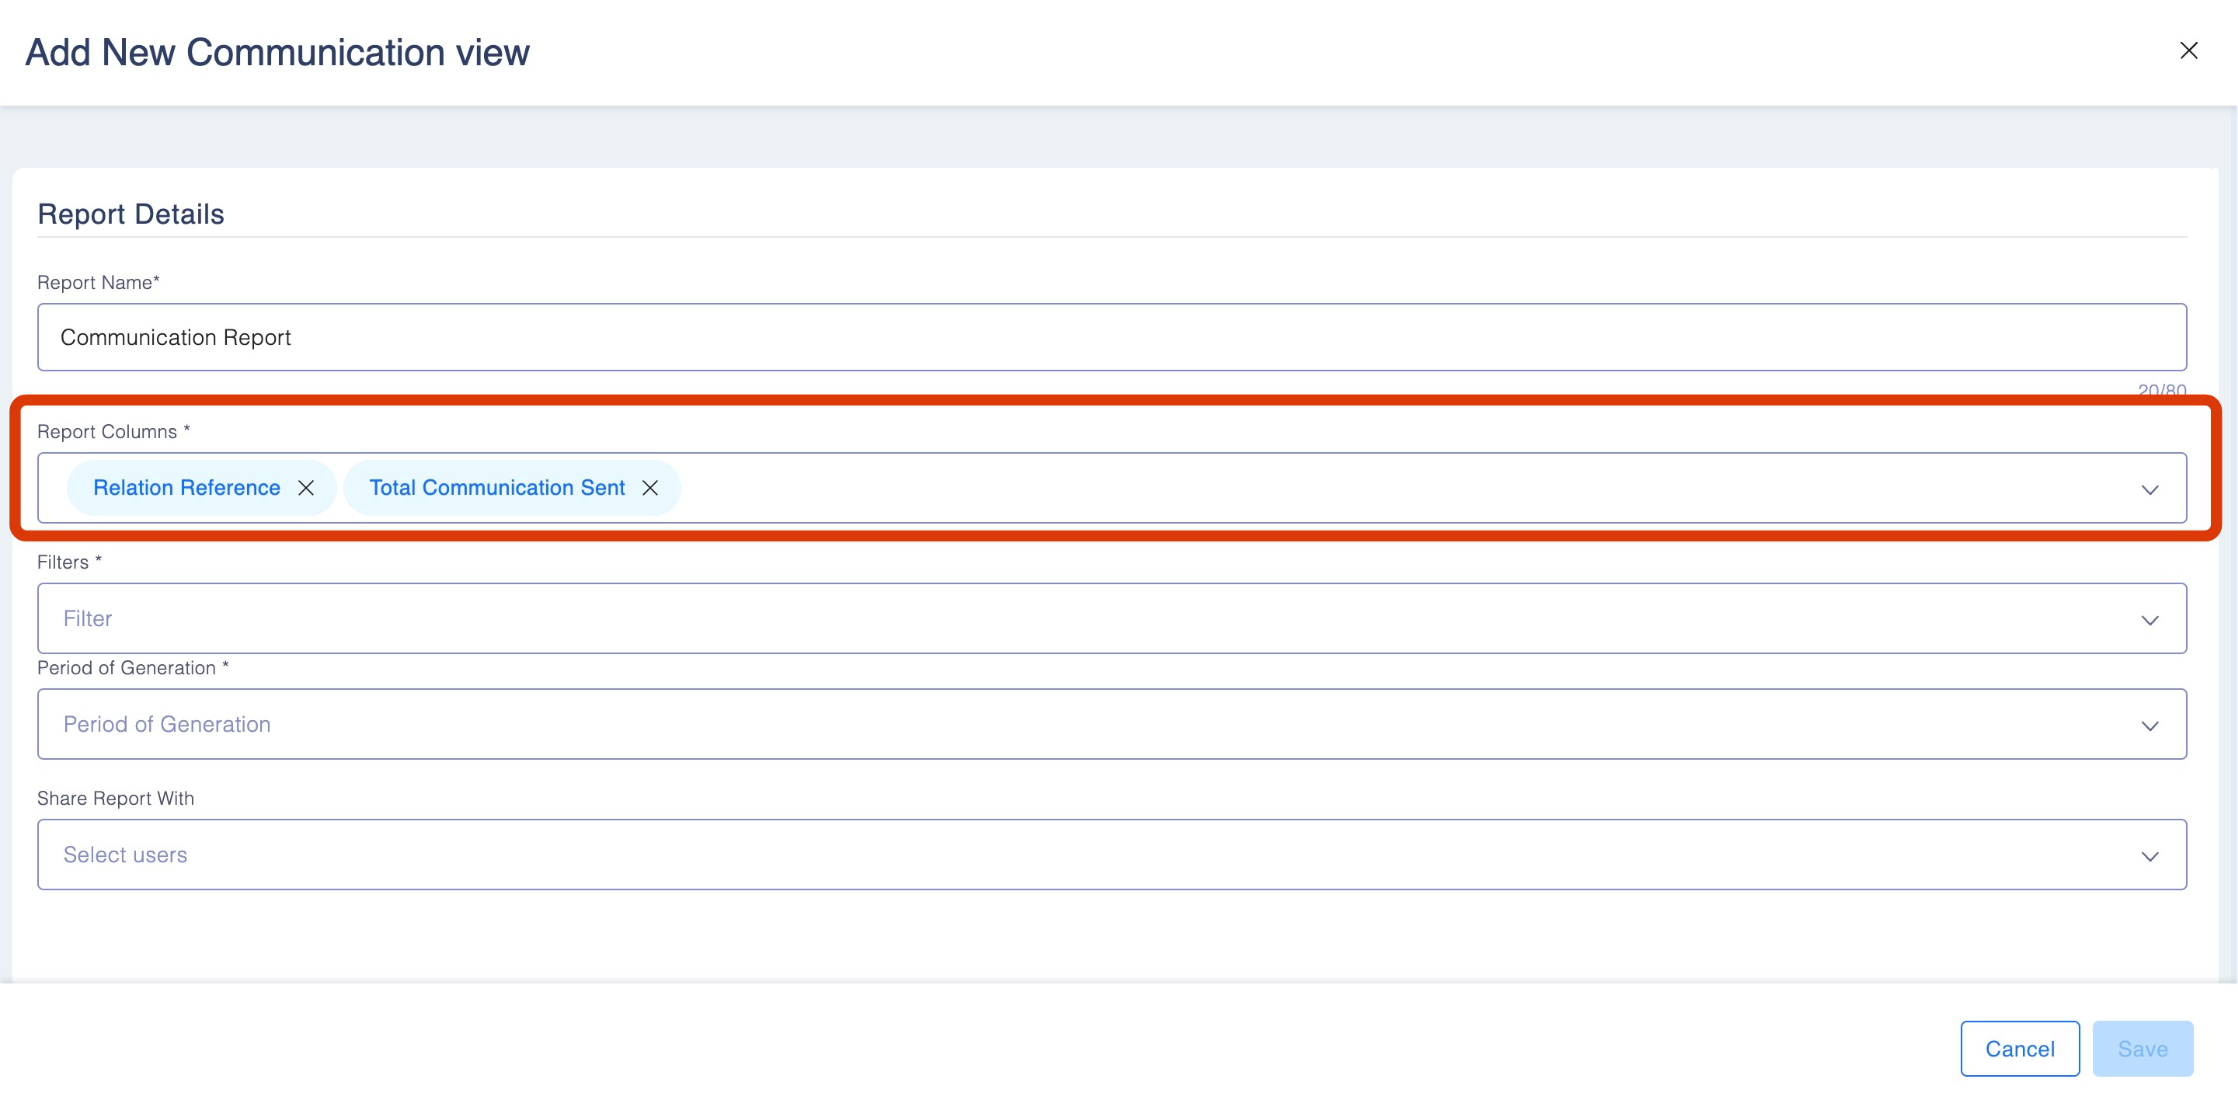
- Report Columns: Select the relevant columns to display the necessary communication data (see column and summarise list below).
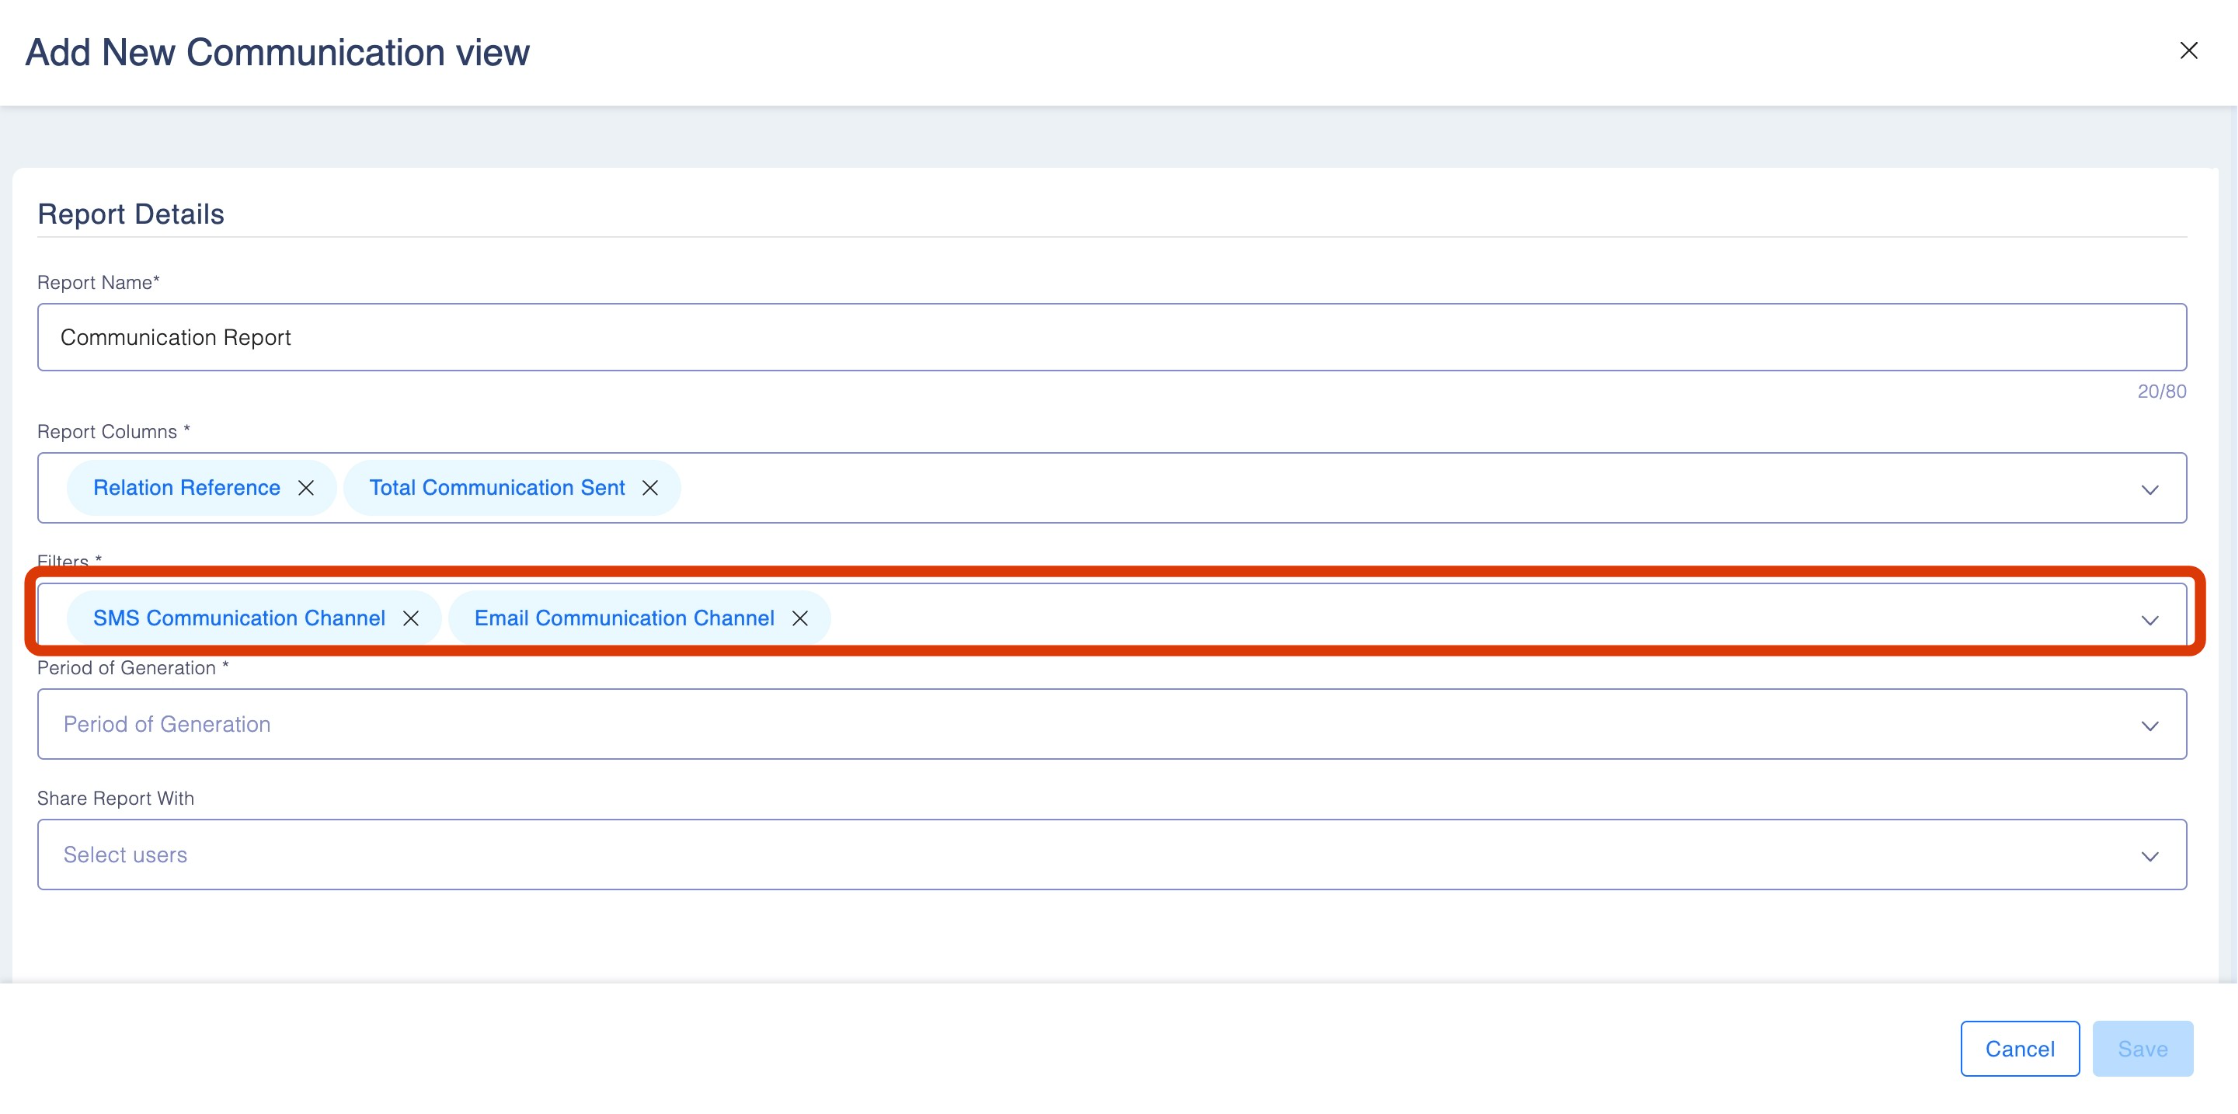
- Filters: Choose the appropriate filters to narrow down the data (see filters list below).
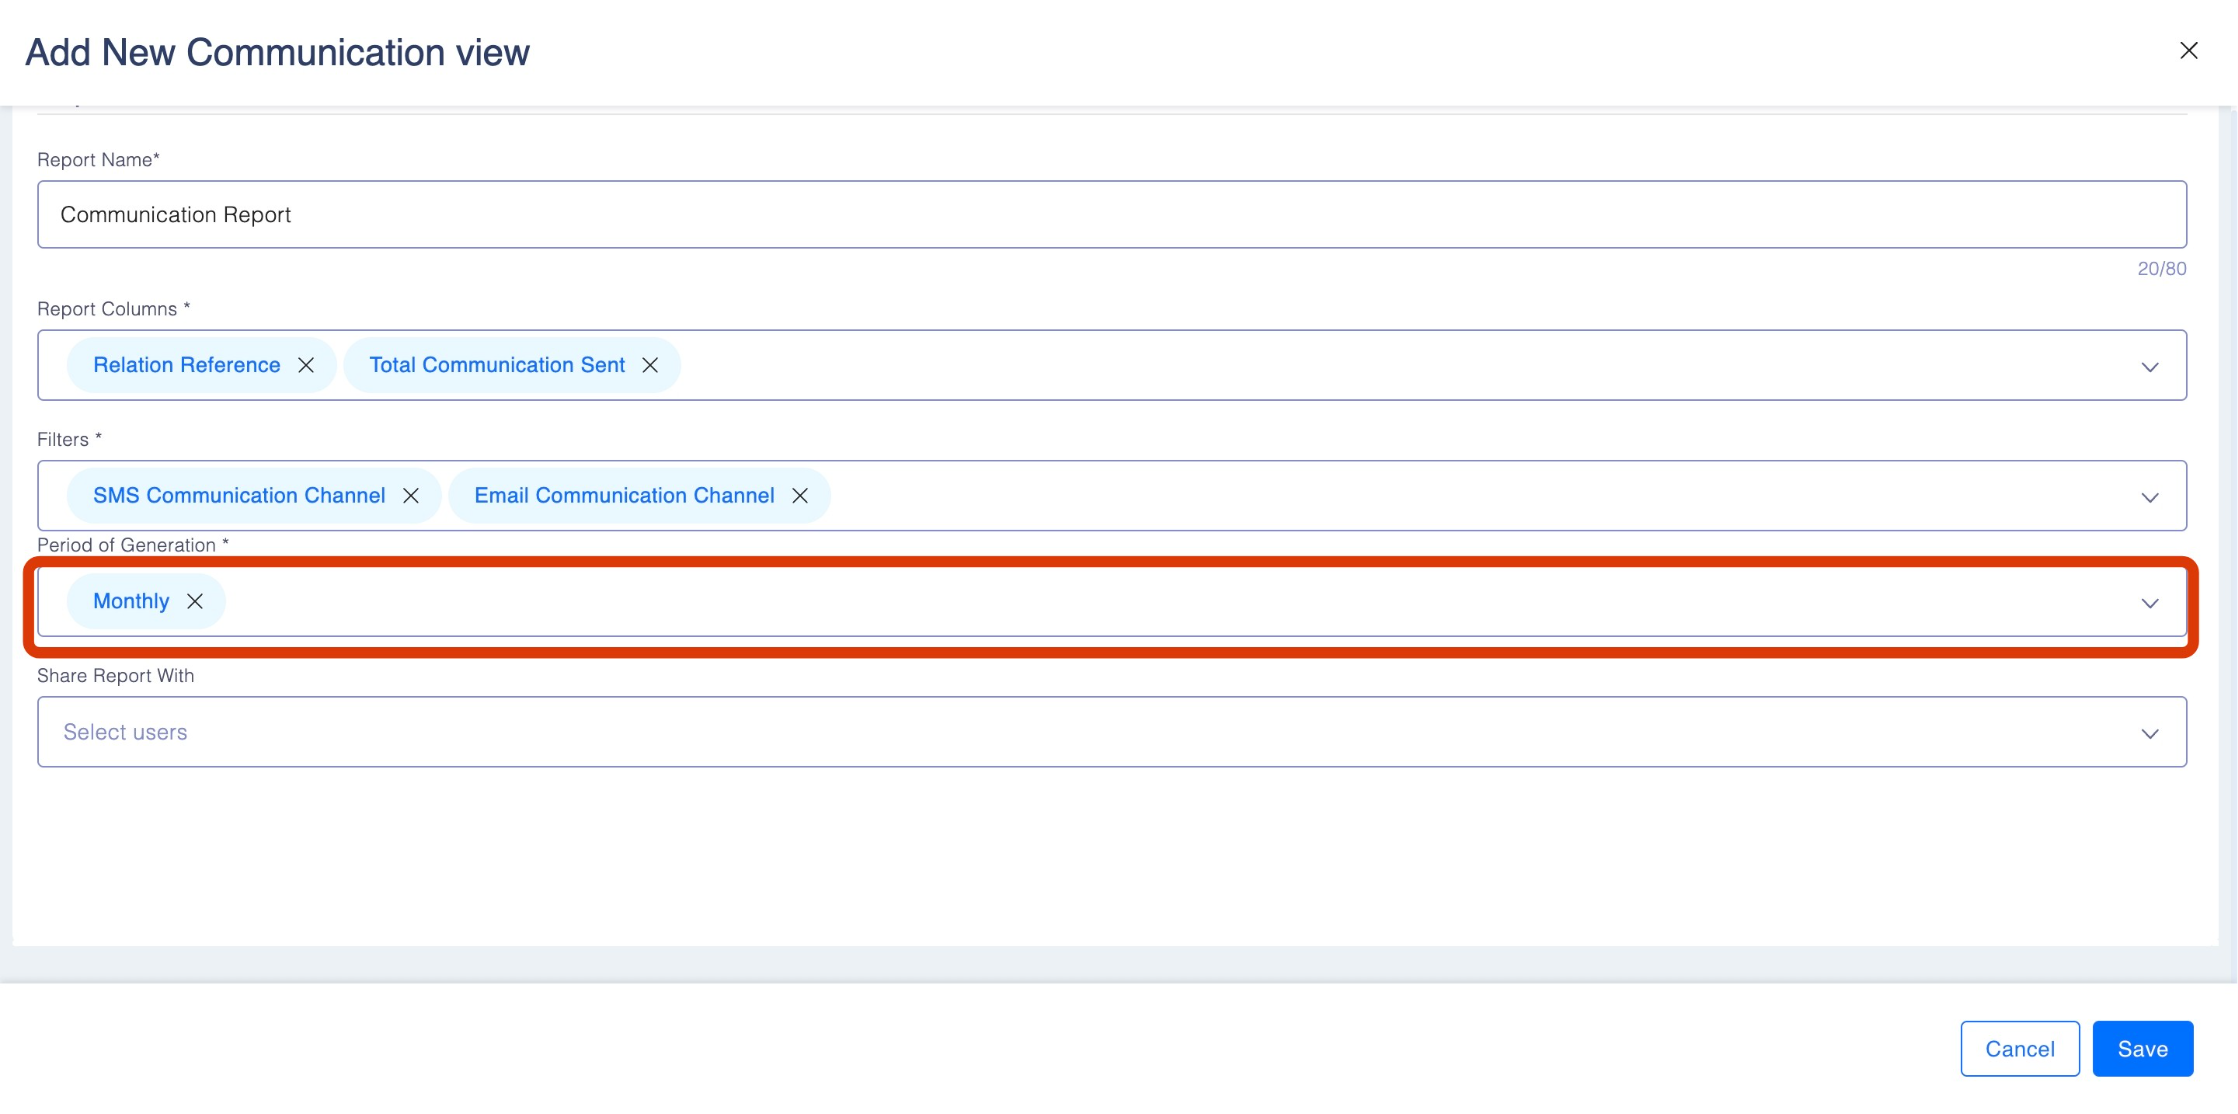
Period of Generation: Select how frequently the report should be generated (e.g., daily, weekly, monthly).
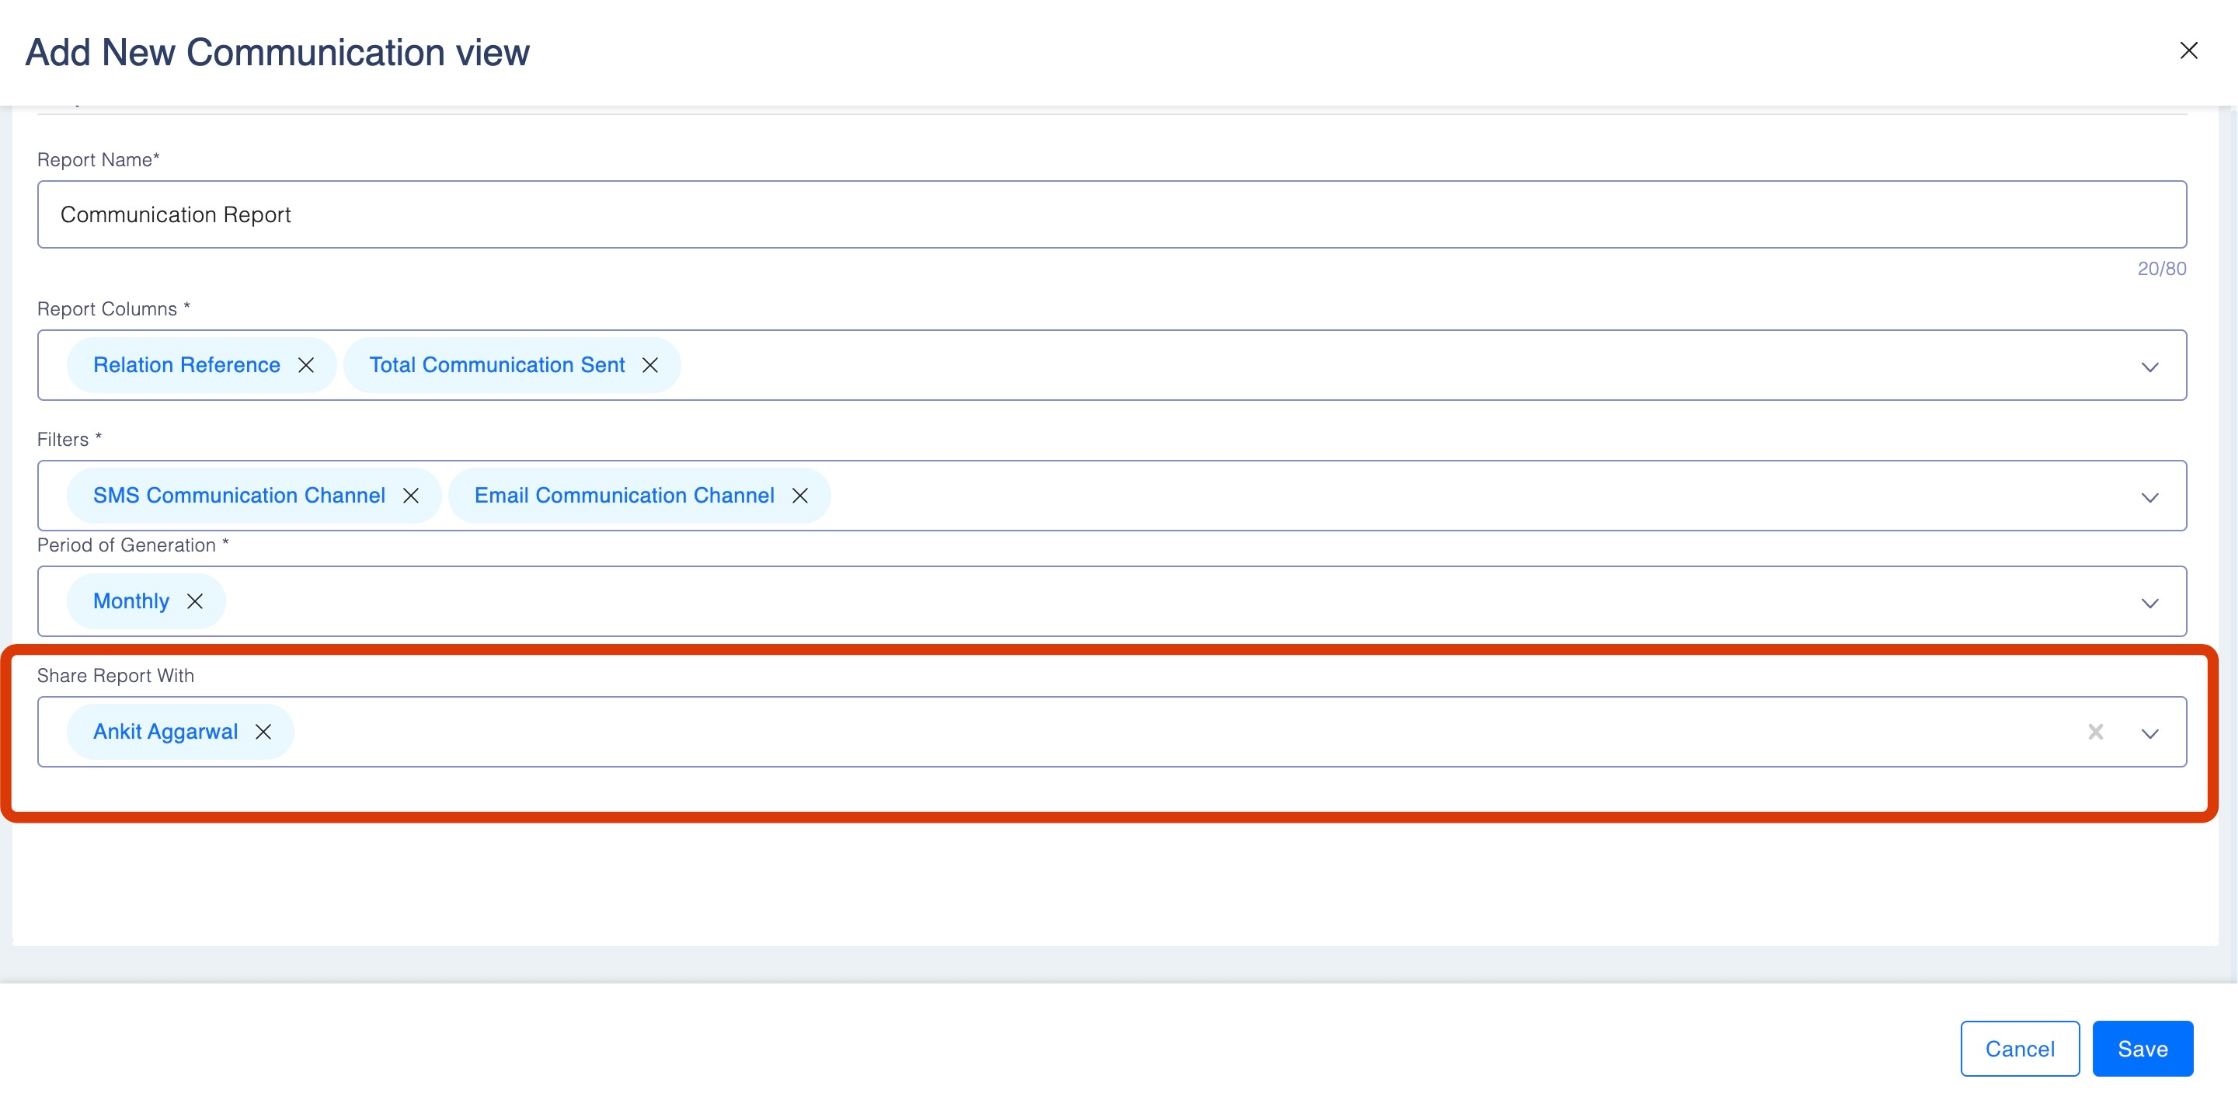
Share Report with: Select the employee you wish to share the report using the drop-down menu.
Available Report Columns
When creating a custom communication report, you can select the following columns to display relevant data about your communication activities:
Columns
- Template Name: The name of the communication template used.
- Relation Reference: The associated reference for the communication.
- Email Status: The delivery status of emails (sent, failed, etc.). The failed status is based upon success response of SMTP/API.
- SMS Status: The delivery status of SMS messages. The failed status is based upon success response of SMTP/API.
- Date Email/SMS Sent: The date when the email or SMS was sent.
- Communication Channel: The medium through which the communication was sent (email, SMS).
- Email: The email address to which the communication was sent.
Summarise
- Total Communication Sent: The total number of emails and SMS messages sent.
- Total Success Delivery: The total number of emails and SMS messages successfully delivered.
- Total Failed Delivery: The count of undelivered emails or SMS messages based on failure responses from SMTP/API.
Available Filters
You can apply the following filters to narrow down the data displayed in the communication report:
- SMS Communication Channel: Filters data based on the SMS communication channel.
- Email Communication Channel: Filters data based on the email communication channel.
Period of Generation
The report can be generated on a recurring basis, depending on how frequently you need the data:
- Daily: Generates the report daily, providing real-time data on communication performance.
- Weekly: Generates the report weekly, useful for tracking trends over time.
- Monthly: Generates the report on a monthly basis, allowing for a broader view of communication activities.
- Quarterly: Generates the report quarterly, giving insights into communication effectiveness over several months.
- Yearly: Generates the report annually for long-term performance reviews.
Accessing and Managing Communication Reports
Once you have created a custom communication report, you can access it as follows:
Select a Custom View:
- In the Communication tab, you will see a list of your custom views.
- Locate the report you want to access and click the three dots at the right and then click "View".

- The report will be generated based on the settings and filters you previously configured.
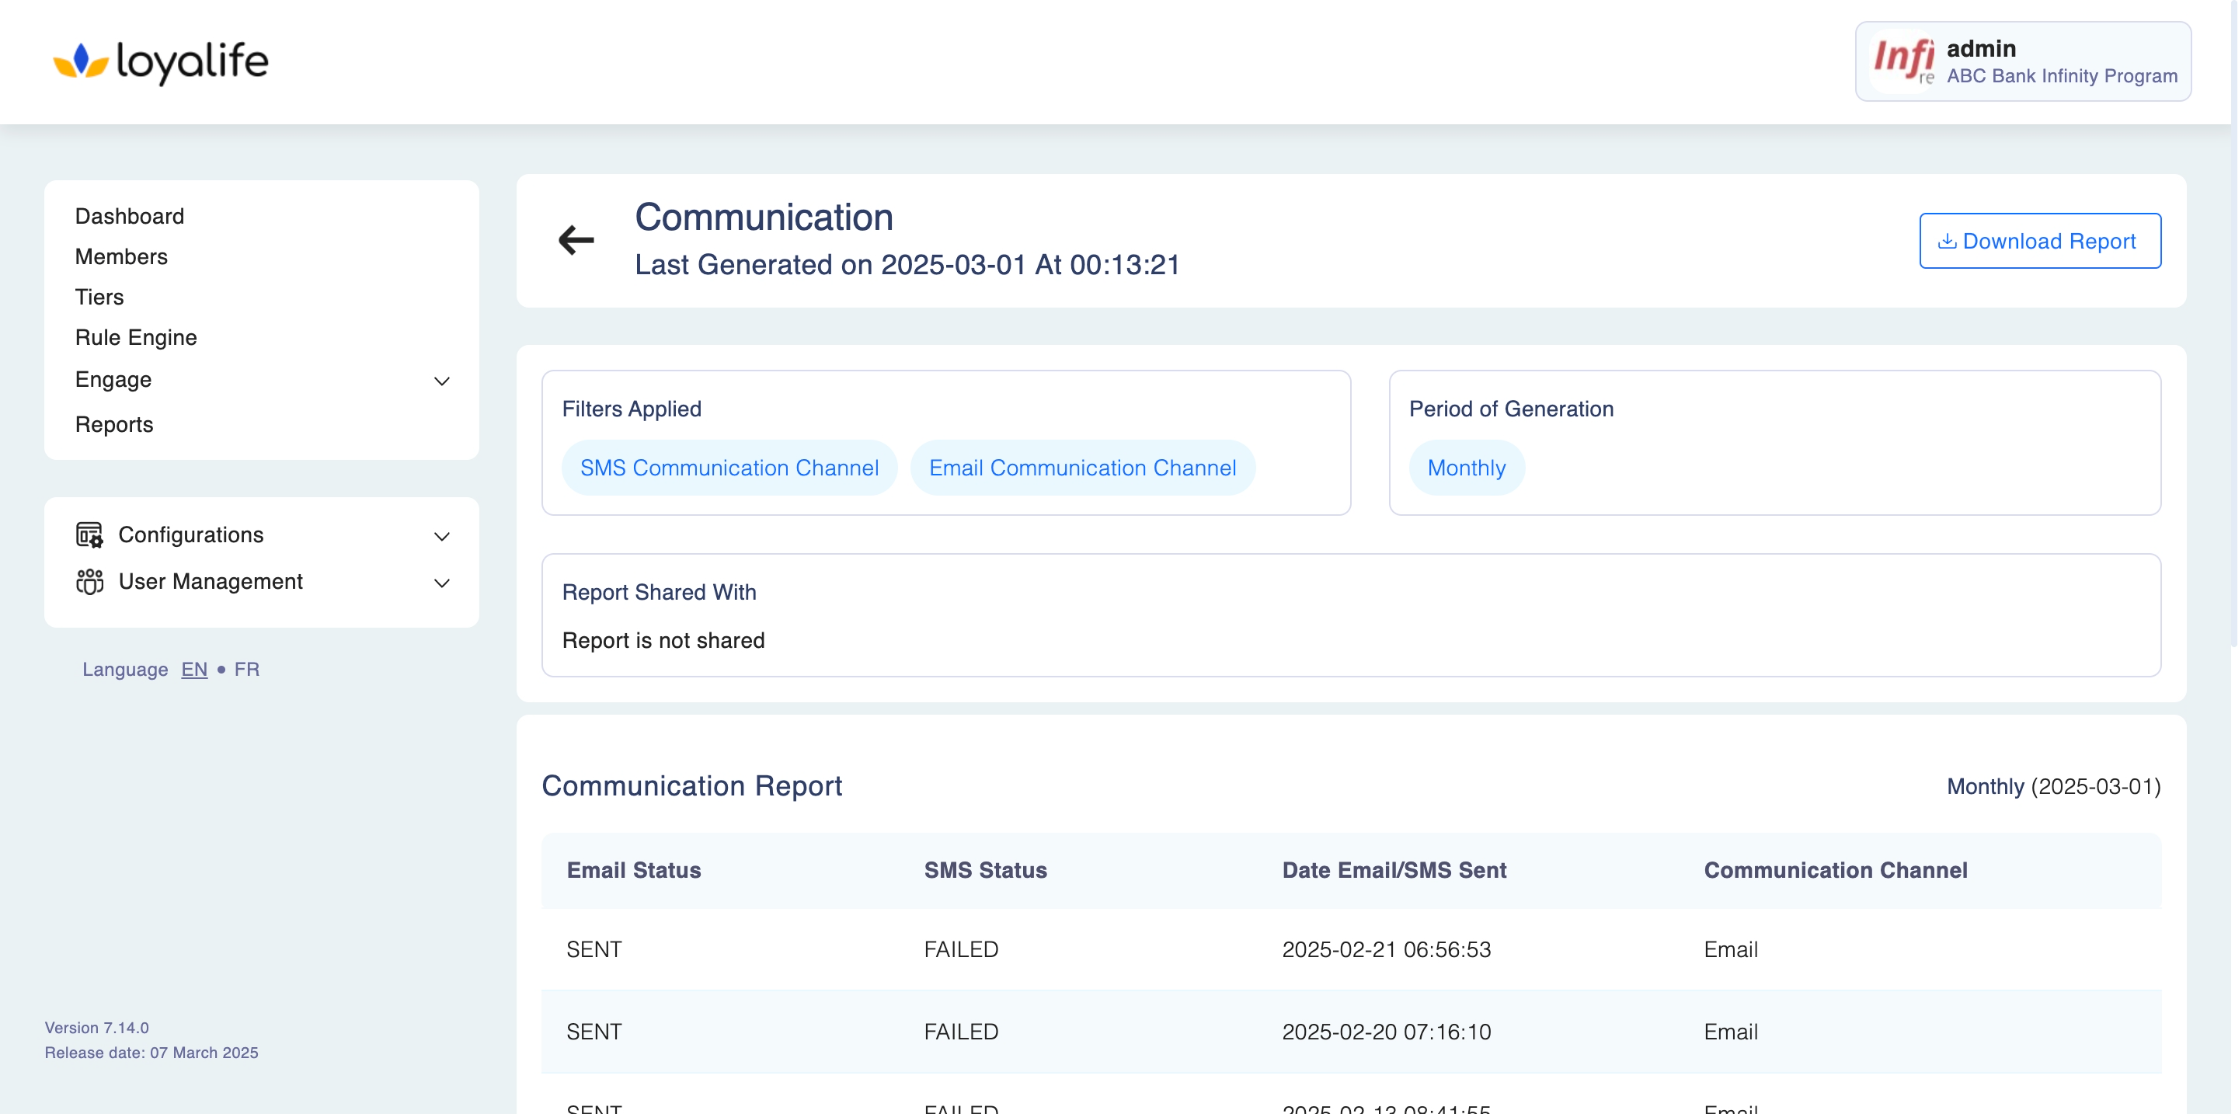
Viewing Report Data:
- Once the report is generated, you can view the communication data directly within the platform, including the columns you have selected during setup.
Deleting a Custom Communication Report
If you no longer need a particular custom report, follow these steps to delete it:
Select the Report to Delete:
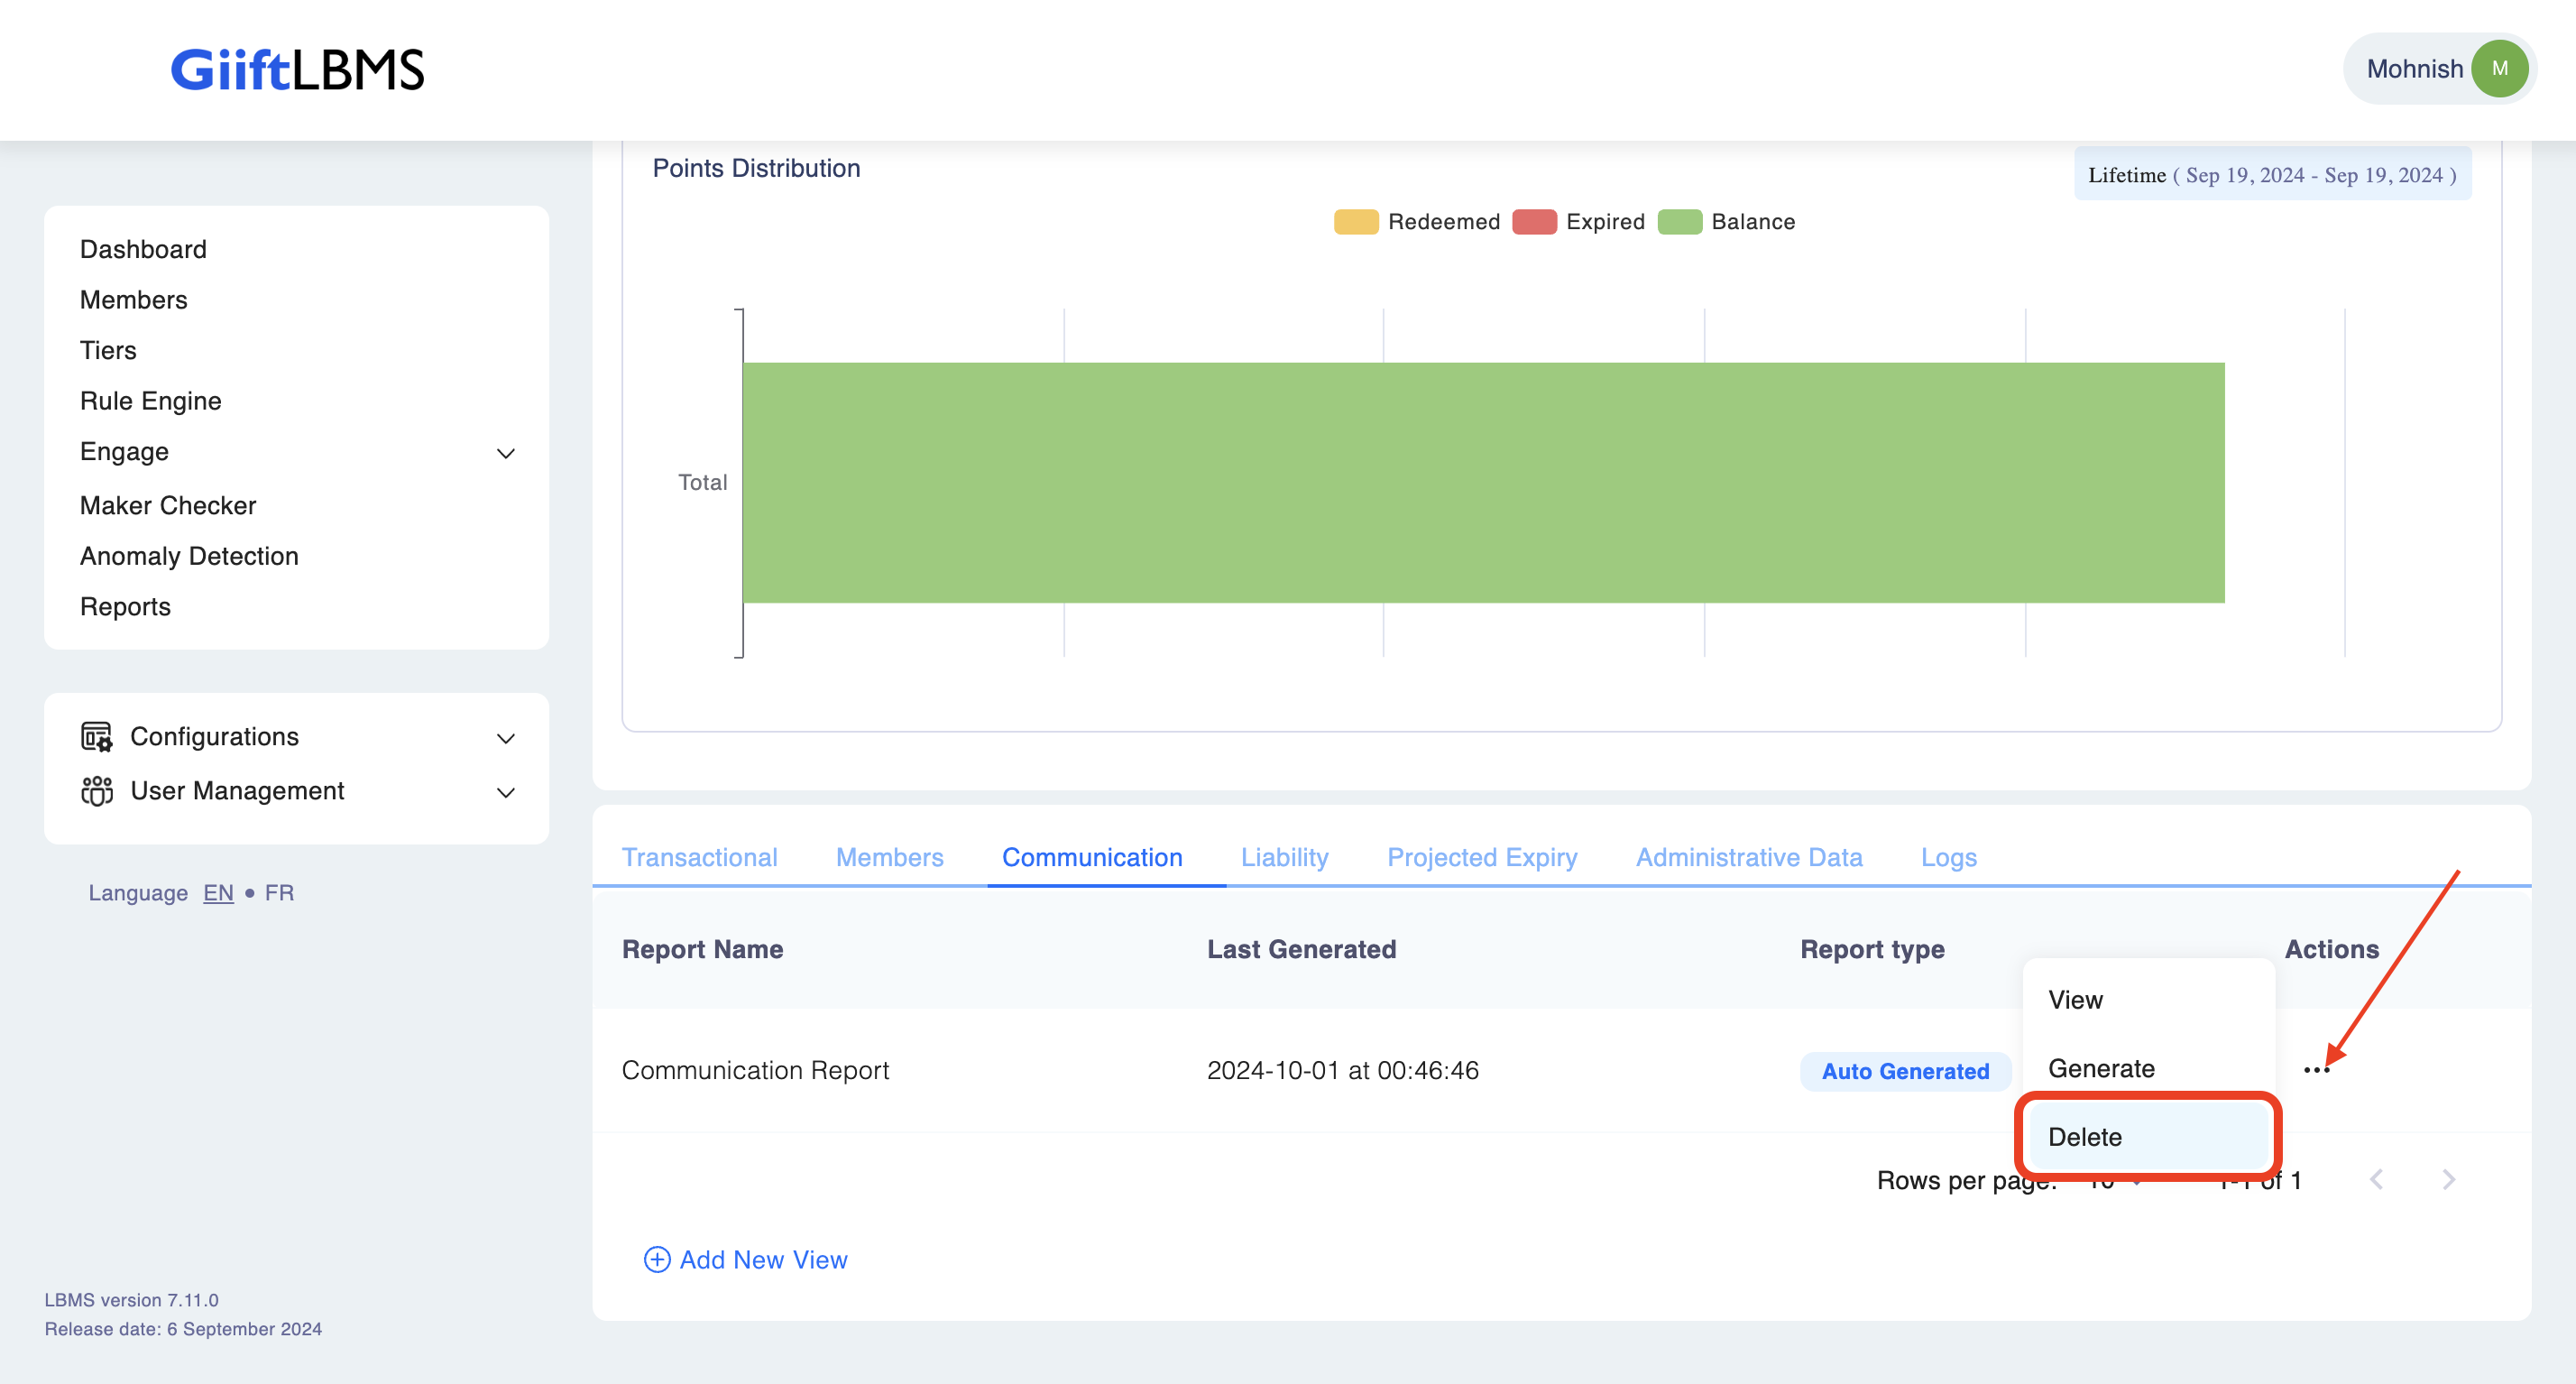
- Locate the custom report you wish to remove.
- Click the three dots at the right side and click Delete.
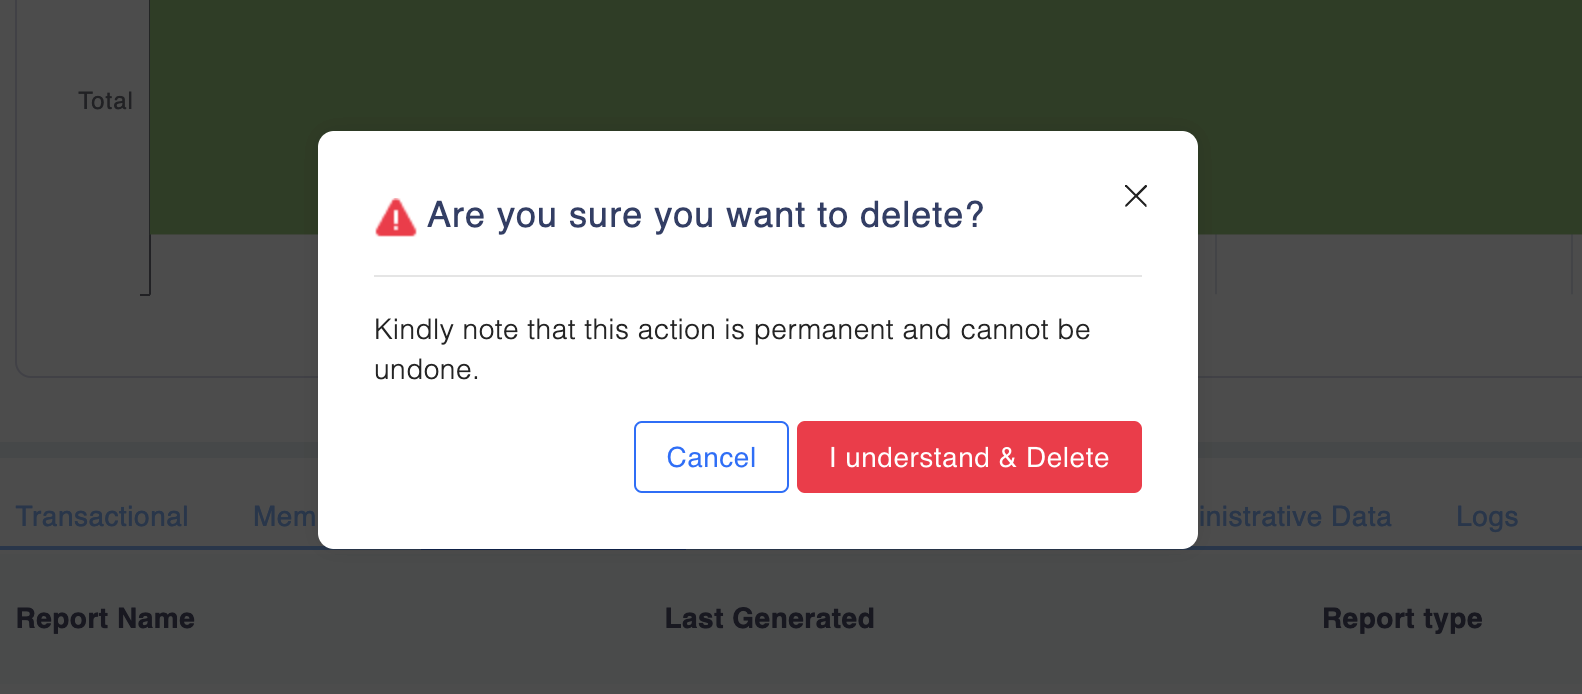
Confirm Deletion:
- A confirmation prompt will appear. Confirm that you want to delete the report.
- The report will be permanently deleted and will no longer appear in the list.
Generating a Manual Communication Report for a Specific Time Period
To manually generate a communication report for a custom time period:
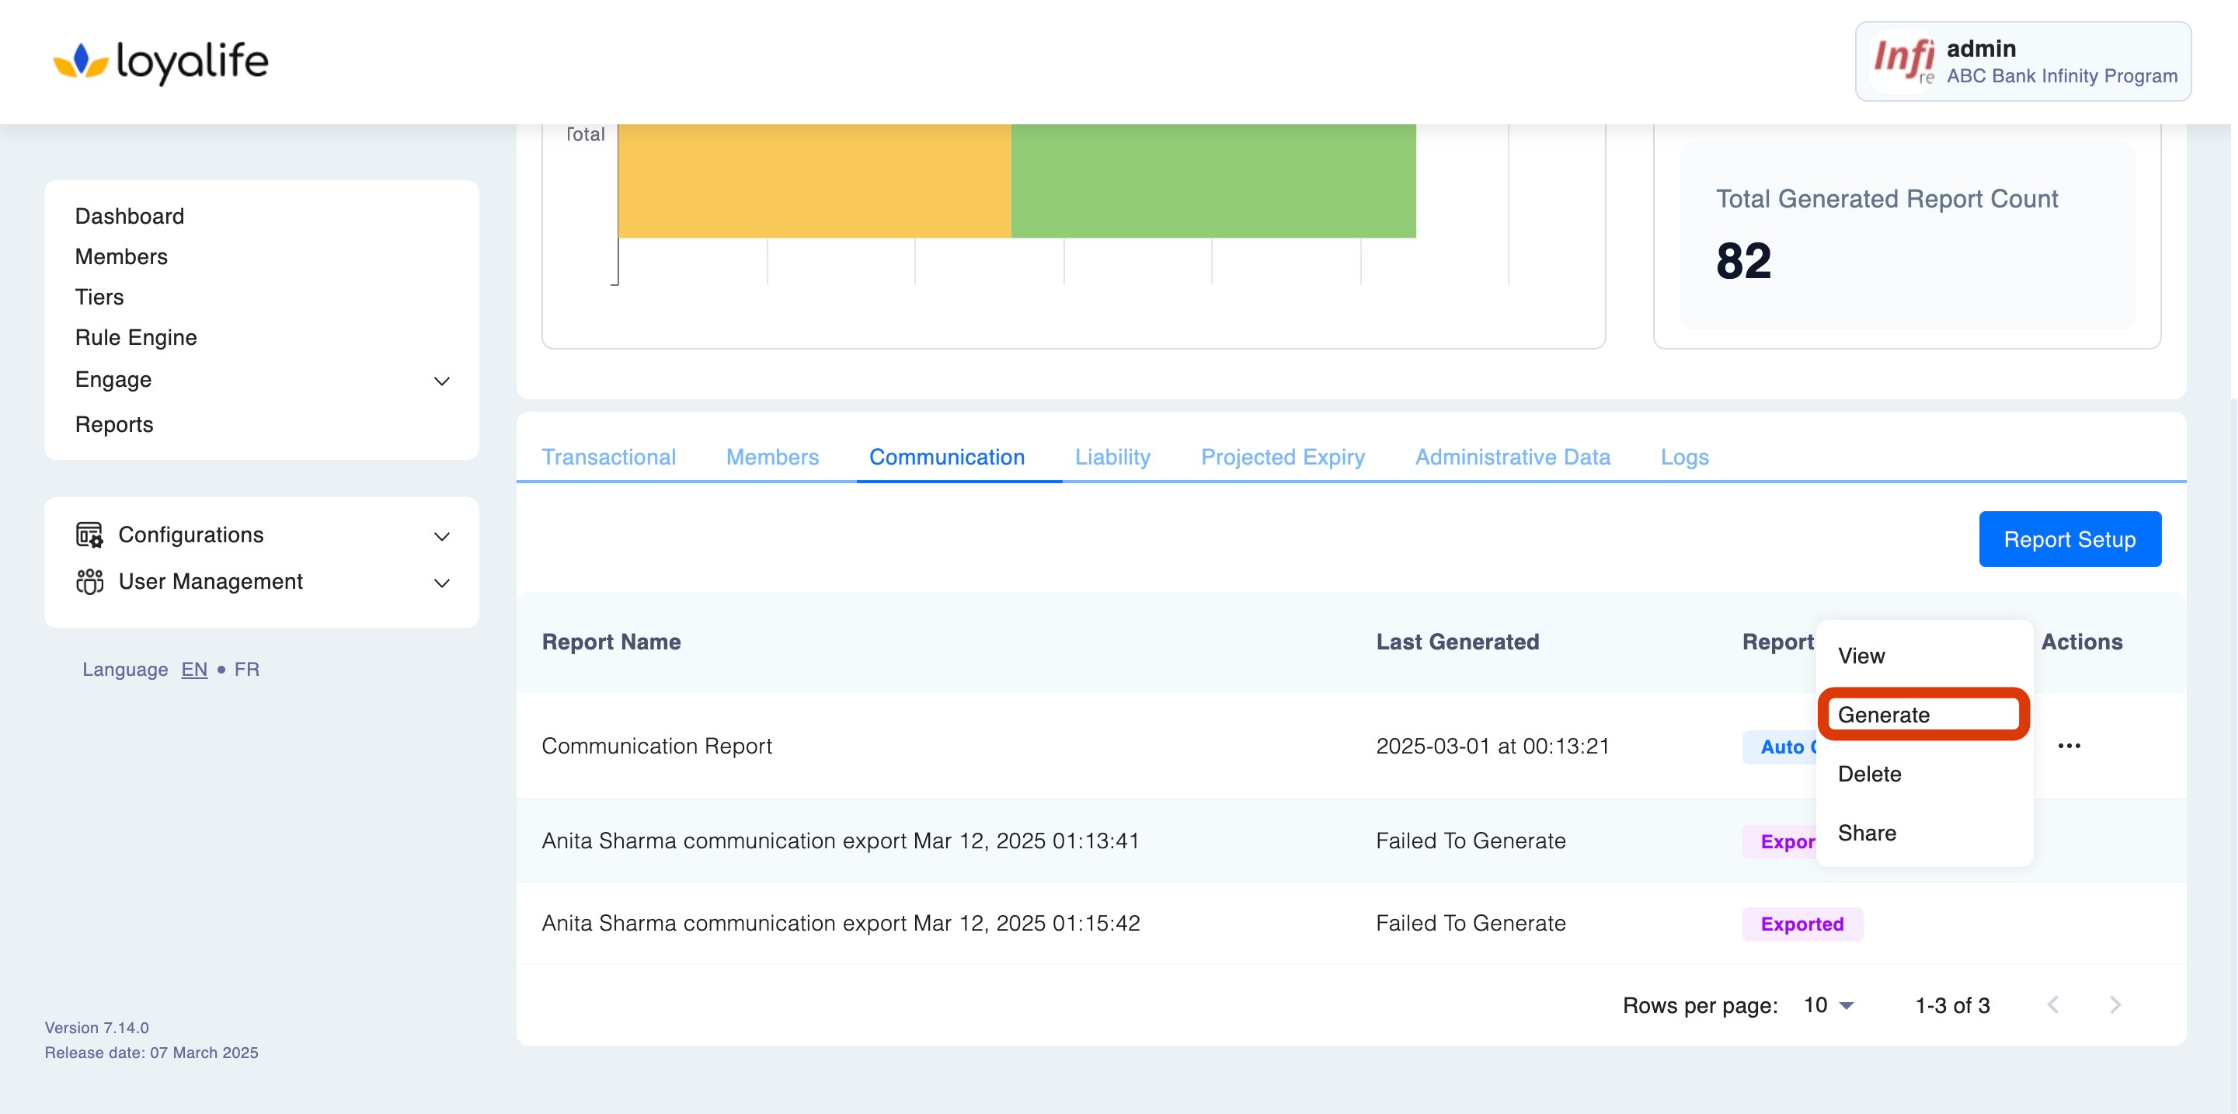
Navigate to Reports:
- Go to Reports > Communication tab> Click the view & generate
Select the Date Range:
- Choose the Start Date and End Date for which you want to generate the report.
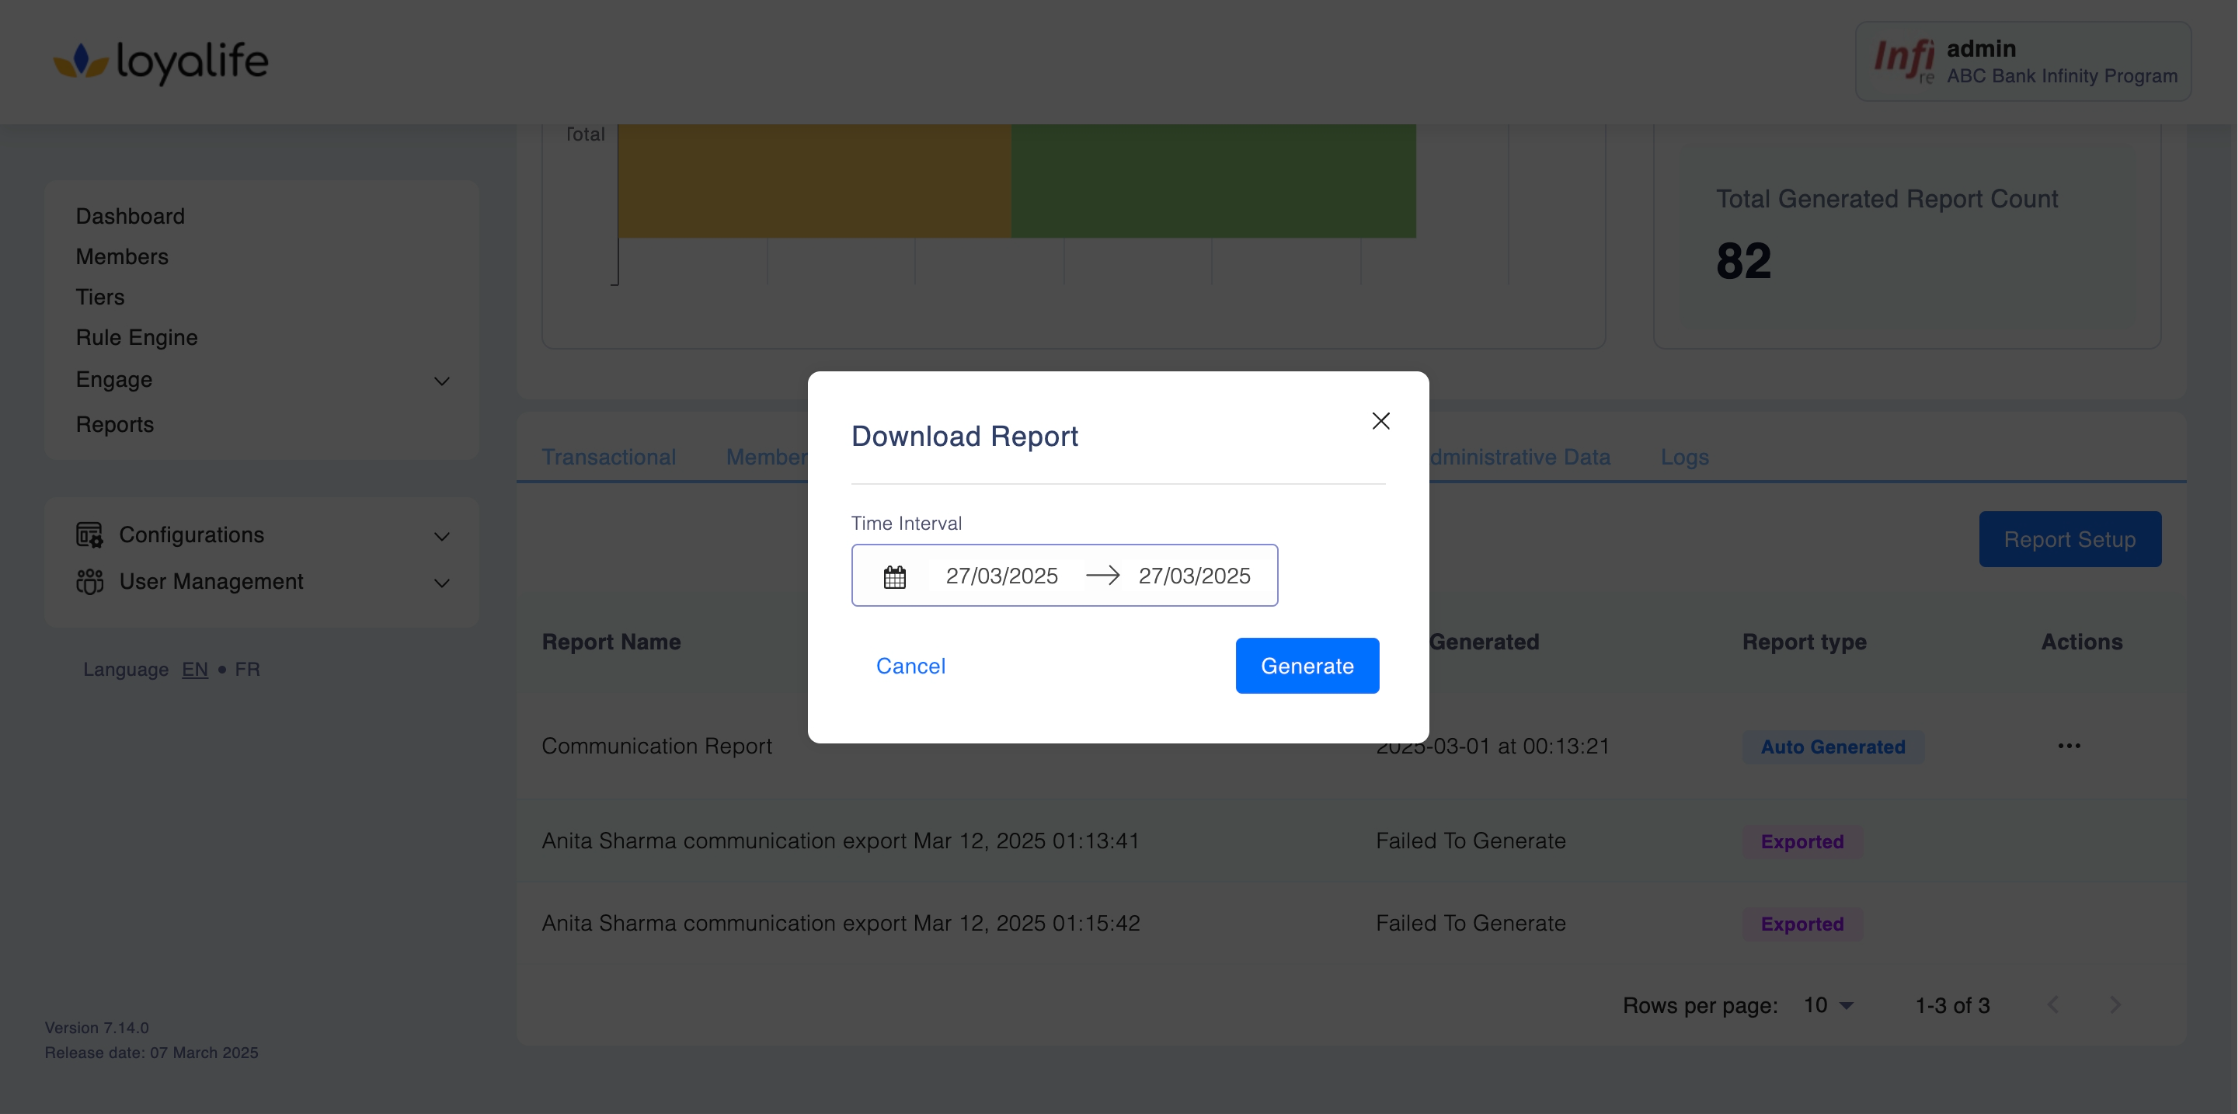
Generate Report:
- Once the date range is set, click on Generate Report.
- The system will compile communication data based on your selected dates, providing a report of all communication activities that occurred within that time frame.
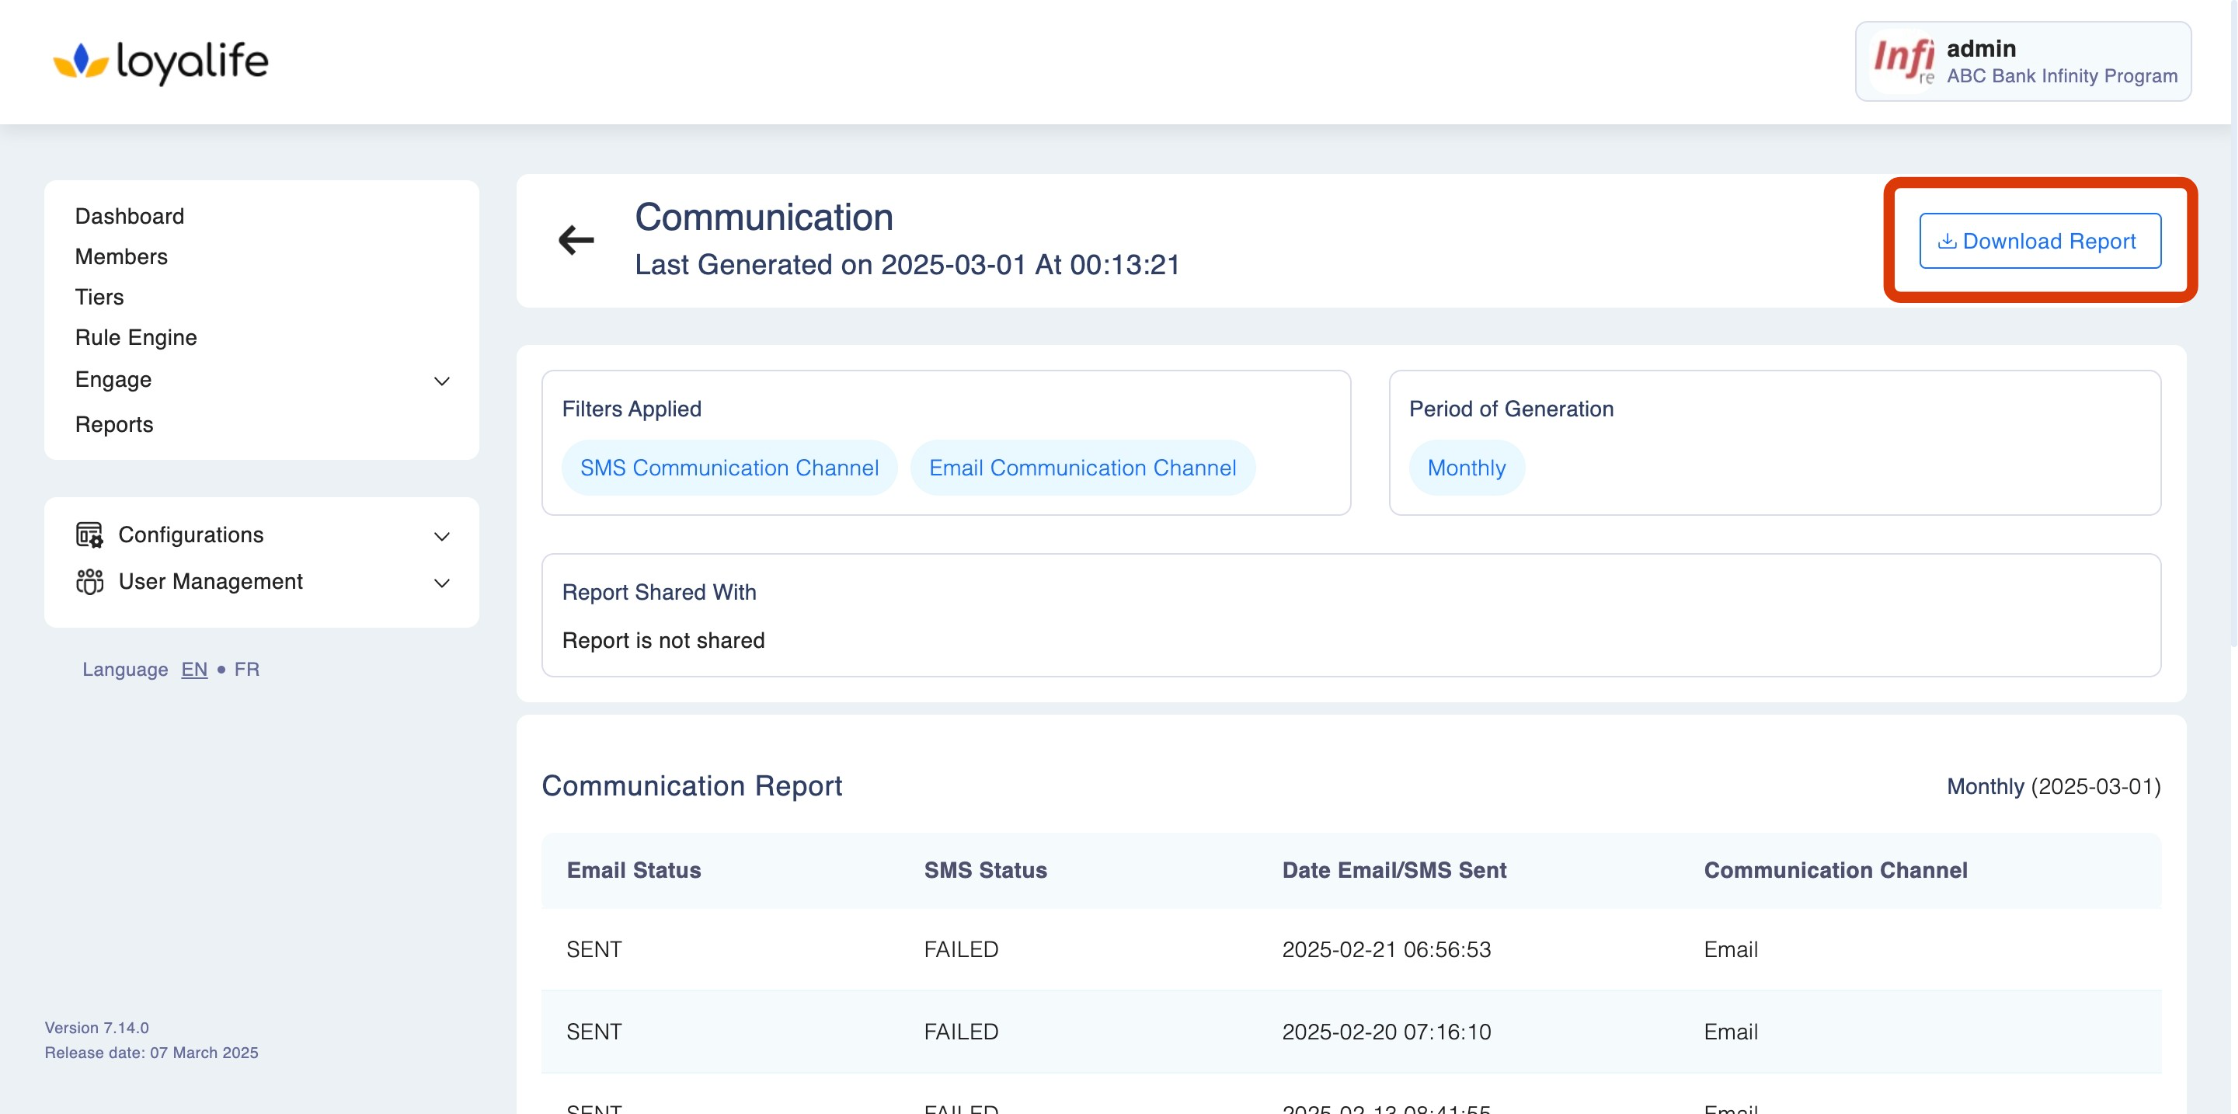
Download the Report:
- After the report is generated, you can view it on the platform or download it in a CSV format.

Sharing Reports Data
If you wish to share a Communications report, follow these steps:
Select the View to Share:
- Find the custom view you want to share.
- Click the three-dot menu on the right side of the view and select Share.
- In the dropdown menu, select the user you want to share the view with.
- Click Share to grant access.
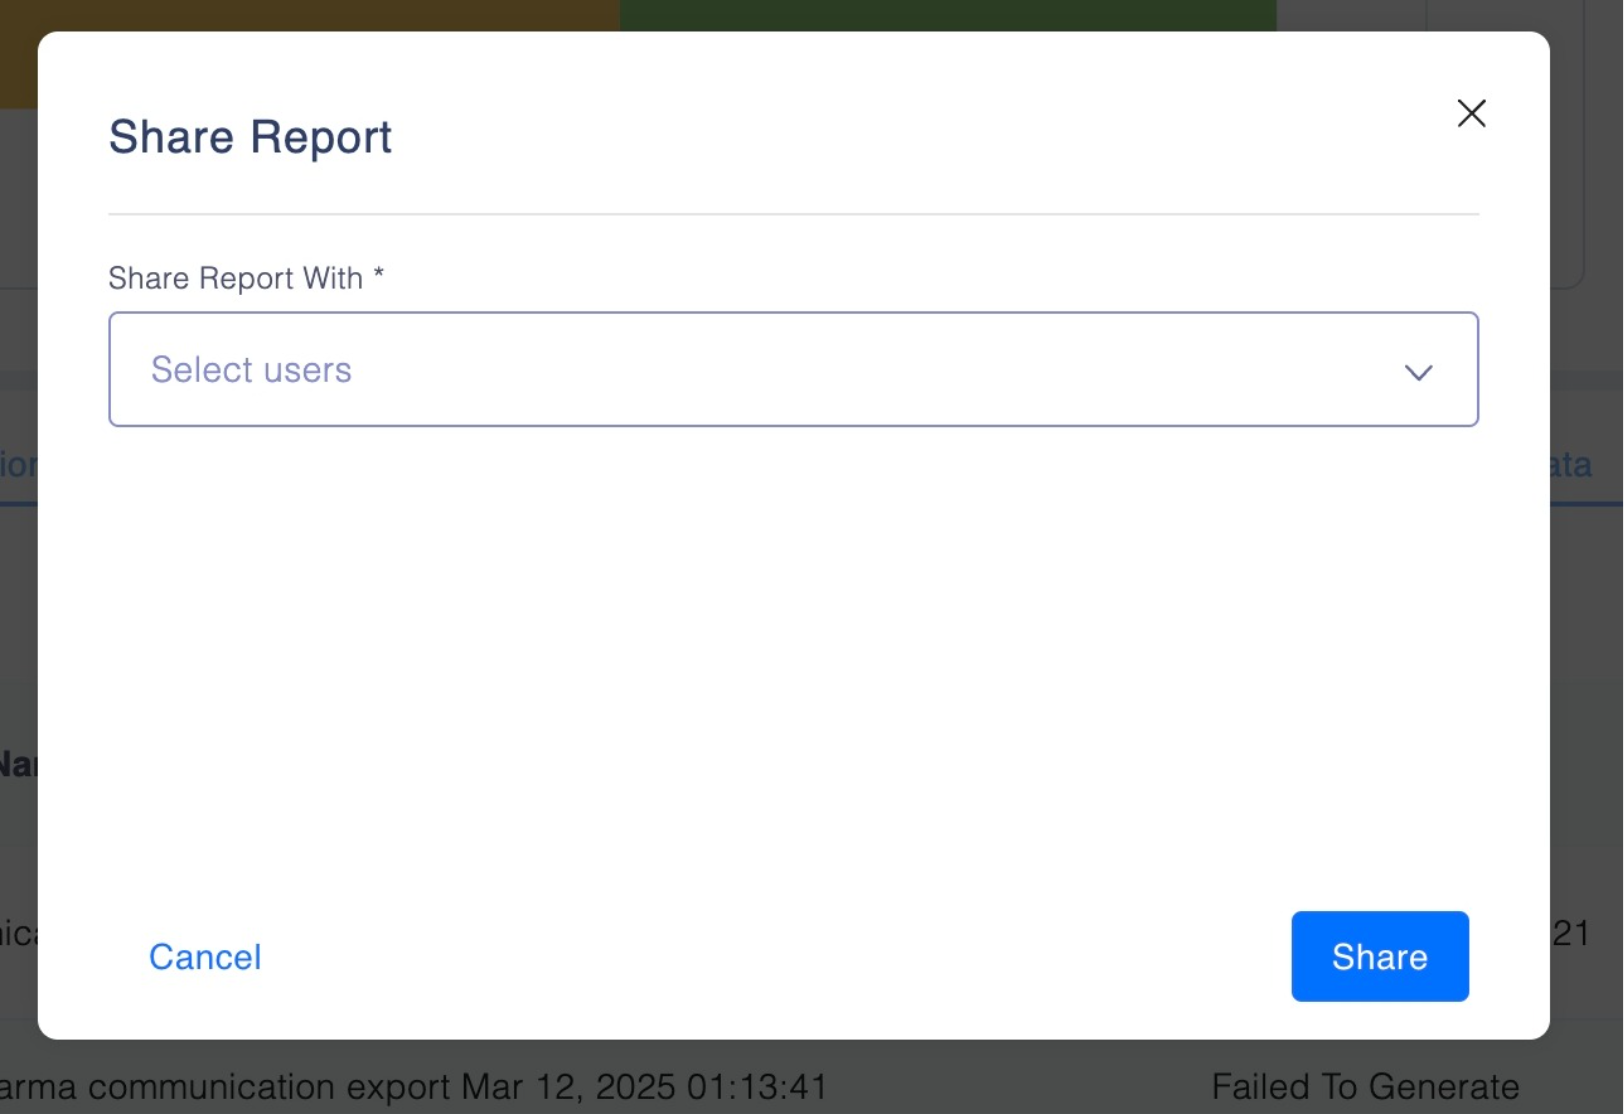
Note: Sharing with a specific user is only available if their access settings allow it.
Updated 2 months ago